Just thought I'd share some of my favorite recent pins from my Pinterest board! There are some cute DIY ideas and great organizational sparks of genius!
[sheena]
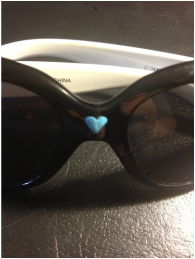
I have a great way to make your sunglasses pop this Spring! Fabric Paint!
Back when I went to Charlotte last summer, I bought a pair of cheap sunglasses because I forgot to pack them in my bags. They are plain black frame with white sides. Well just the other day I had the idea to paint them. So I pulled out my fabric paints in those little squeeze bottles and get to work.
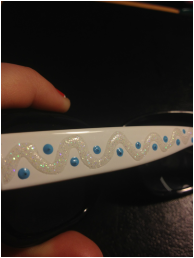
I put a light blue heart in the center of the bridge, and blue dots in between a zig zag pattern down the sides made with clear glitter paint. They are no longer boring glasses!
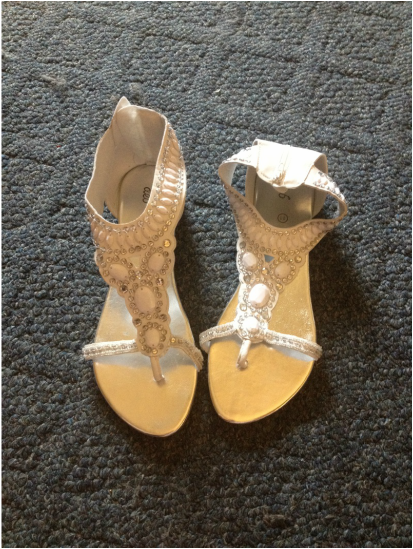
I also have been looking for new gladiator sandals because my old pair has seen better days. So I stopped into Deb yesterday and snagged myself a pair! I'm a little nervous about them being white because they will attract dirt, but until they look bad, I'm going to rock them as often as the weather will let me! :)
I hope you all are having a great Saturday and are spending time with the people in your life who make you smile! I know I will! Also make sure to check out the Etsy shop because there are some new things listed! :) Bye Loves!
[sheena]
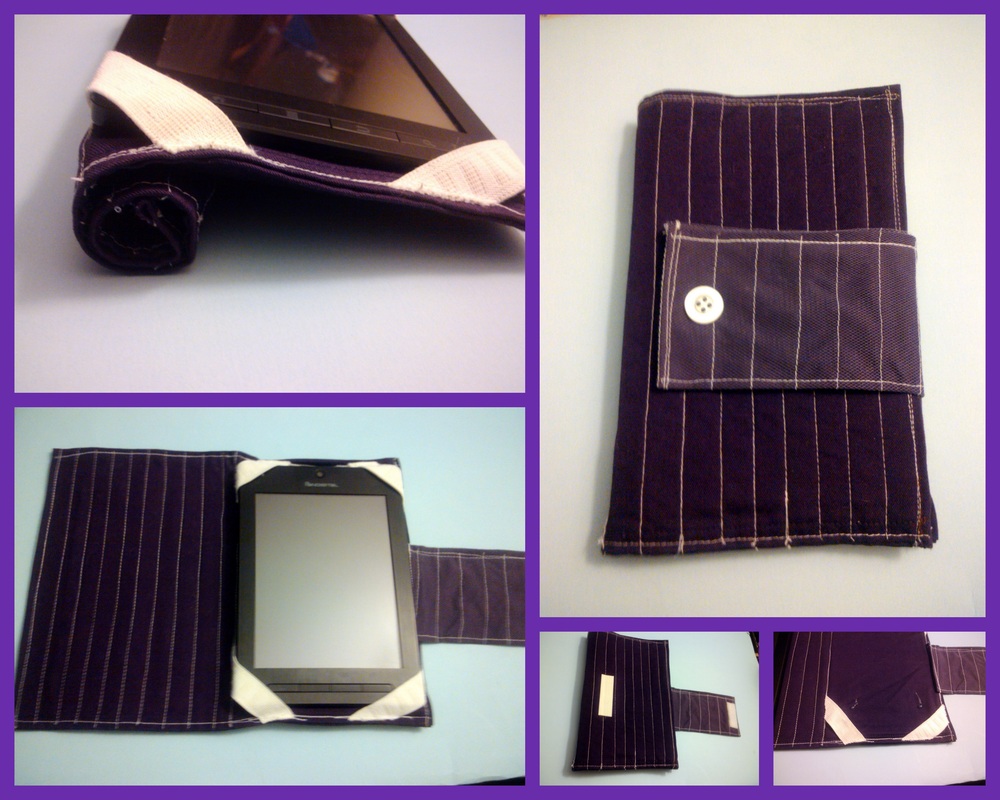
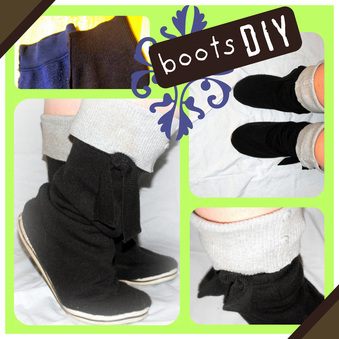
So after checking out the tutorial for
sweater boots, I browsed around the Instrucatbles site for awhile and found something else I had to try immediately. A cover for iPads. I don't have an iPad but I do have a tablet. So I went through my fabric options (old clothes that I'm willing to cut up) and chose to shred apart my old vest I wore while working at a previous employer. lol And off to the sewing machine I went!
Now due to different resources and different size of technology, mine is slightly different than the one shown in the tutorial. I also decided to add little dabs of hot glue to the inside so my tablet wouldn't slide at all. I'm in love with it. So
check out the link and also I encourage you to look around a bit.
Instructables is pretty awesome.
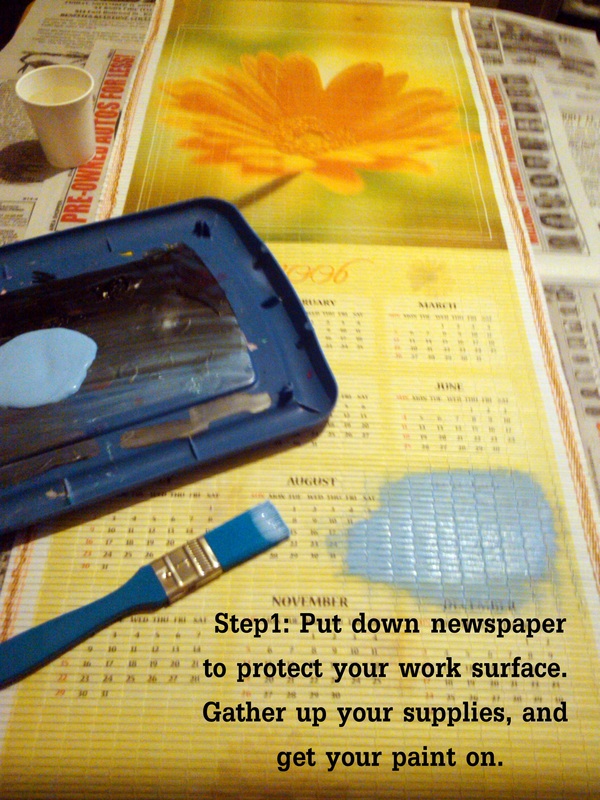
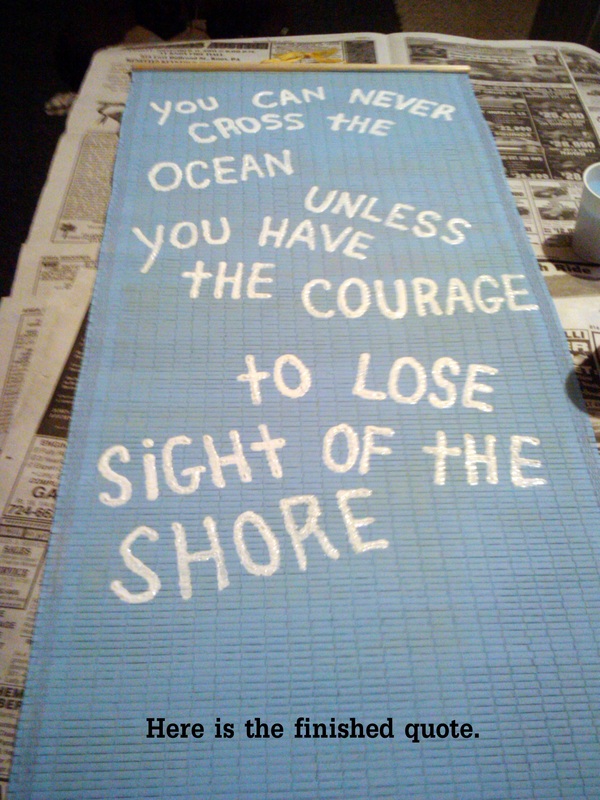
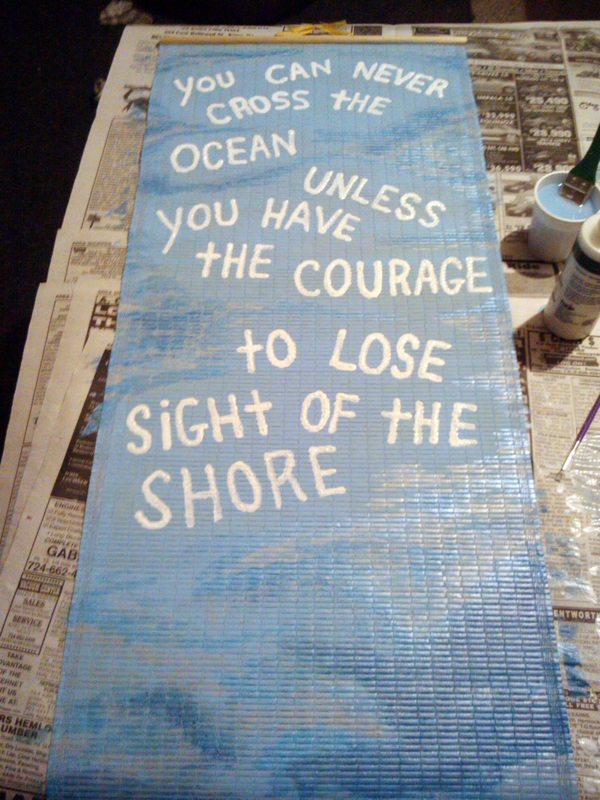
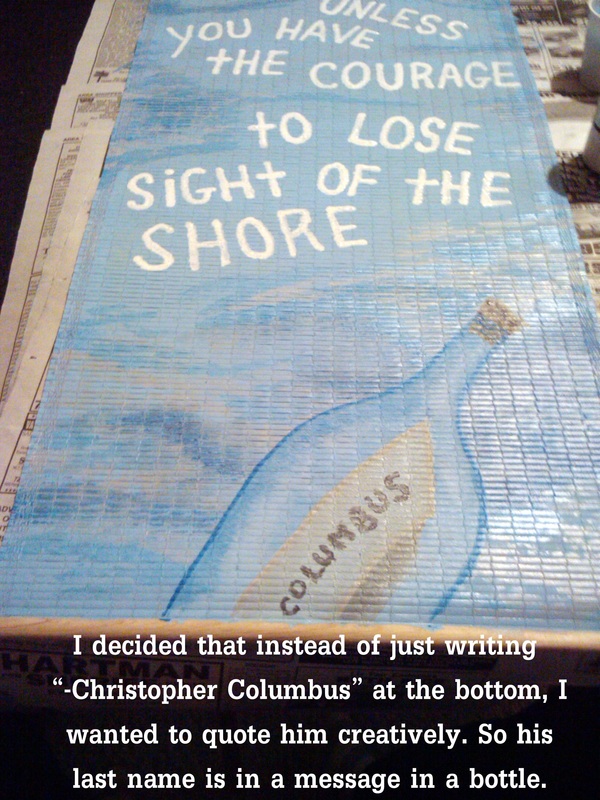
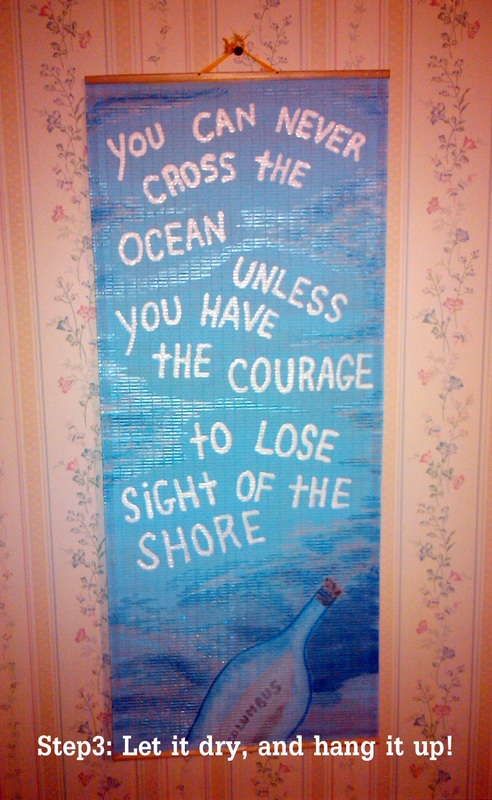
Next subject, my own creation. I was going through some stuff and I found an old wall calendar from 2005. It was the kind with two wooden dowels with those thin plastic strips that are sewn together and you can roll it up. I was going to throw it away but then I thought "I can do something with this." So I decided to paint on it. I found a cute quote online and went to town! I used acrylic and fabric paints (for shiny and raised text affect). I like how it turned out and wanted to share it with you all! :) Click on the images to get my step-by-step (aww, I miss that show) tutorial of what I did!
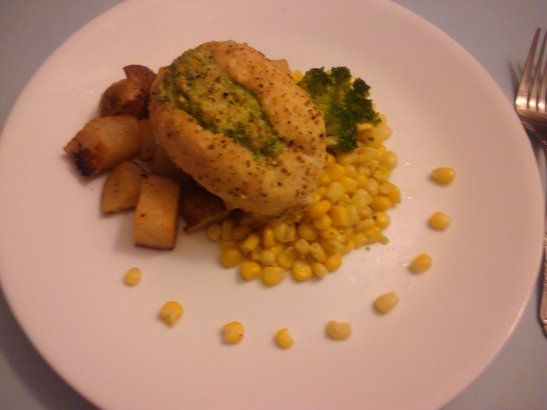
And last but most certainly not least, what I made for dinner tonight. It's brocc and cheese stuffed chicken breast with roasted potatoes and mixed veggies. I even channeled my inner iron chef and plated it all fancy like.
|sheena|
----------
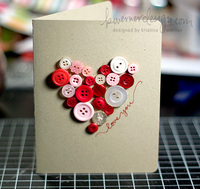
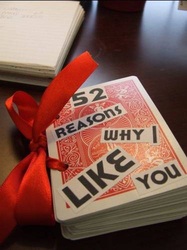
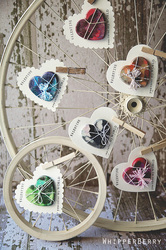
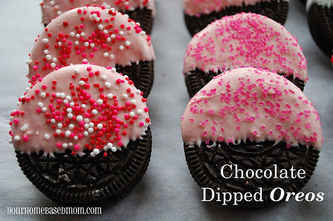
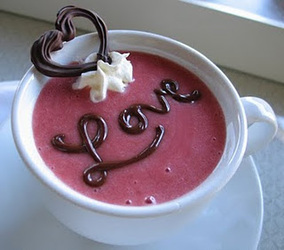
Here is a compilation of crafts, and goodies for the next big holiday! Whether it's for a friend or that special someone in your life, these creations are sure to brighten their hearts and make them smile. Just simply knowing you thought of them is nice, but knowing you spent time too actually make them something makes it so much better!
|sheena|
Like most females, I love candles. I love most scents and colors and to me, a room isn't complete unless there is a candle in it. My personal favorite is the evergreen tree scent that fills the shelves this time of year. I try to stock up so I can get that scent through out the year. But candles aren't just about fragrances, they are about looks as well. And I've compiled some links here to give you all some great ideas for customizing your own candles to fit the look you are going for. Some of these would even be great activities to do with kids while they are home for Christmas break. So check them out and let me know what you think.
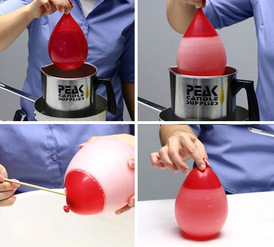
Water Balloon Luminaries
candletech.com
A fun and simple project that has a beautiful outcome. Great for tealights, especially if your use different dyes to create an array of colors.
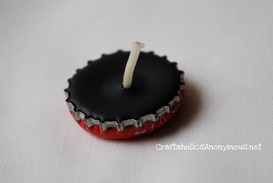
Bottle Cap Candles
craftaholicsanonymous.net
As soon as I saw these, I fell in love. They are so cute and a great way to recycle. These would be wonderful party favors.
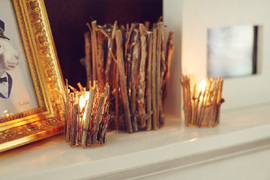
Twig Candle Holder
blog.fossil.com
So simple, and adds warmth to a room on top of just having a candle. It's a great way to bring the outdoors, indoors. Also, I've seen this done with cinnamon sticks as well. Awesome.
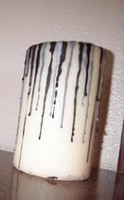
| | 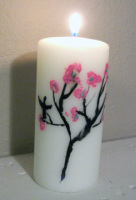 Melted Crayon Candles
cherishscupoftea.blogspot.com
craftchi.com
This project has more room to customize, because you can do any design you want on your candles. From simple patterns to images that fit with the decor of the room.
|
|sheena|
When I was creating my previous post about my
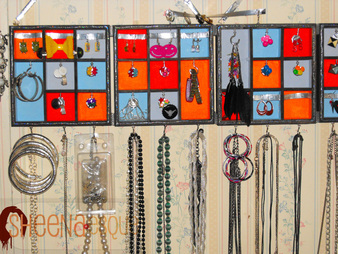
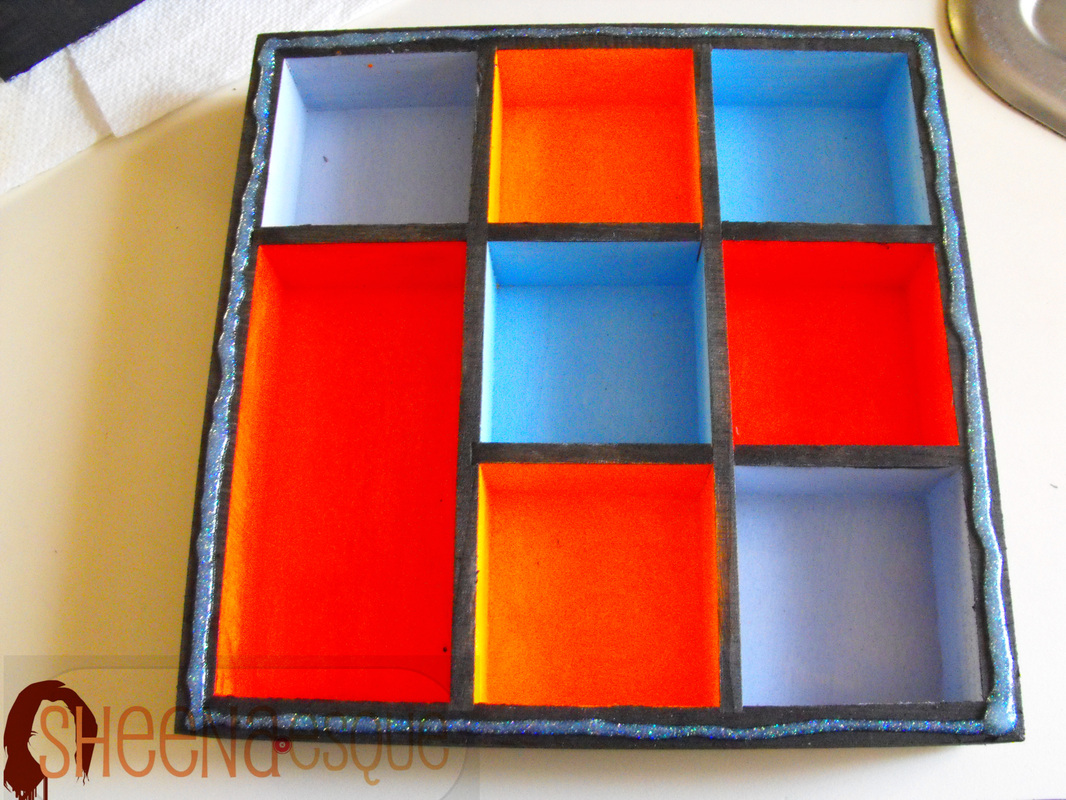
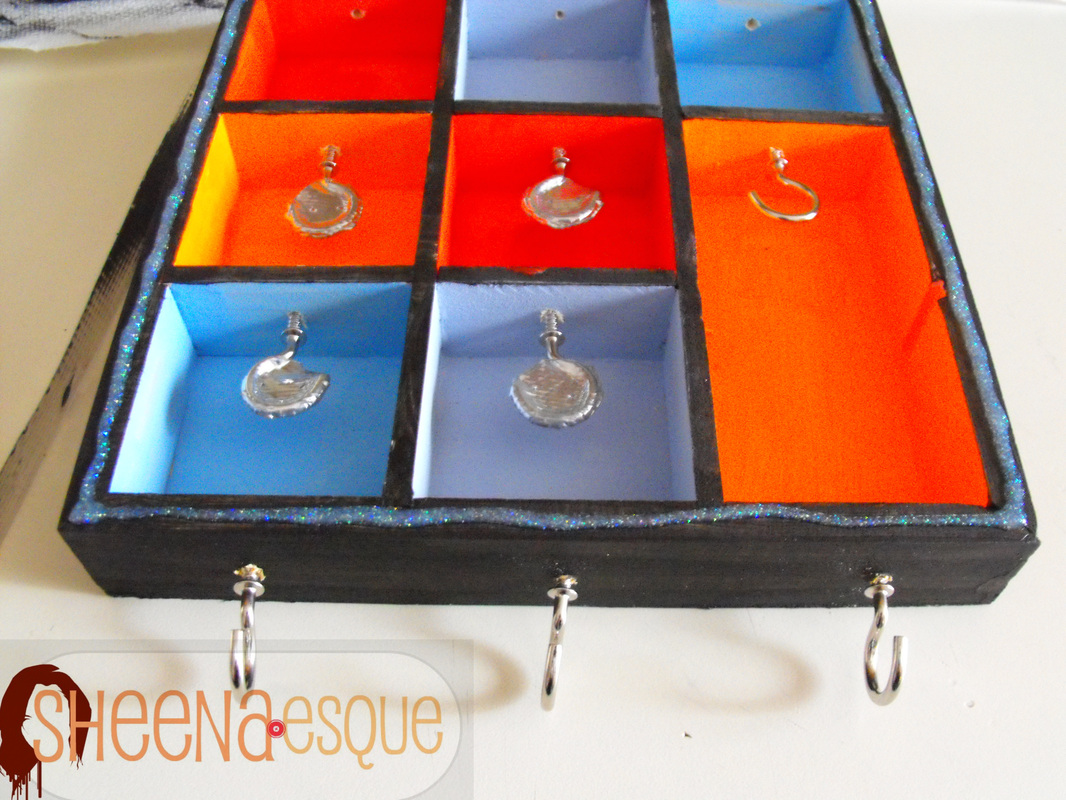
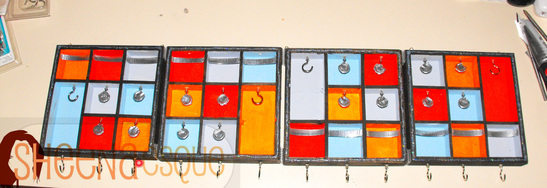
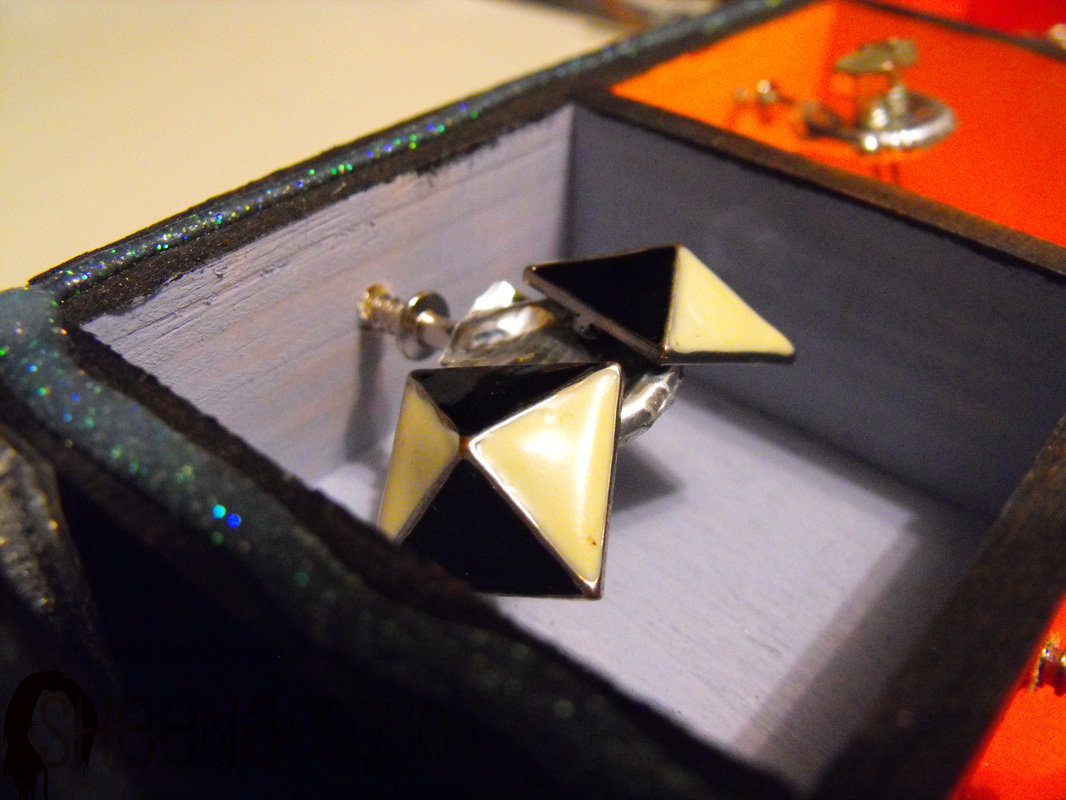
Wishlist for Christmas, I found the drawer jewelry organizer and fell in love. I told my mom about it and she told me that she had these little wooden boxes that I could use to make one if I wanted. CHALLENGE ACCEPTED! So first I decided to paint them and I even used a little glitter glue around the outside edge of each one.
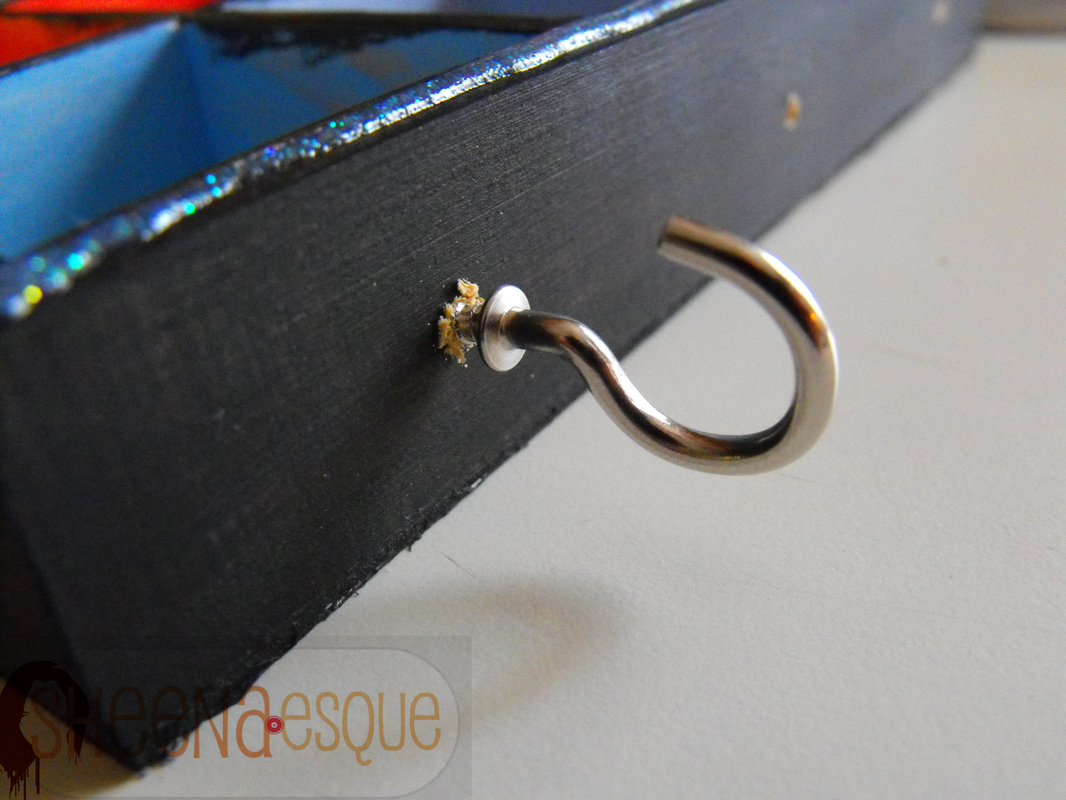
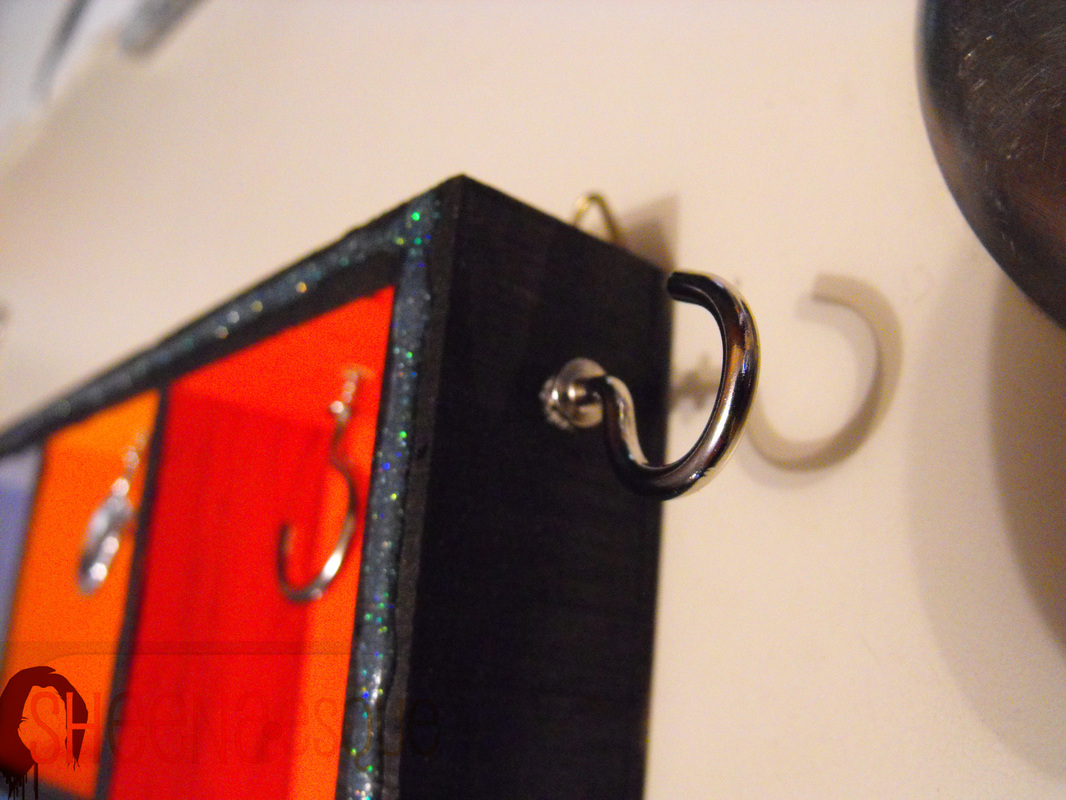
Then I added my hooks! I did 3 per box along the bottom and one on either side of the finish line up. At first I wanted to do one in each square, but I realized I didn't have enough. (that's due to lack of preparation on my part, I should have gotten a count before I went shopping) So I had to make due with my chrome duct tape. I made little strips and superglued them into the squares so I could hang more earrings up. I also used the duct tape to cover some of the hooks. I know this seems kind of bass ackwards, but another tip I learned the hard way, take inventory of your earrings before doing this. Basically, I underestimated how many studs earrings I owned versus the ones with the hooks.
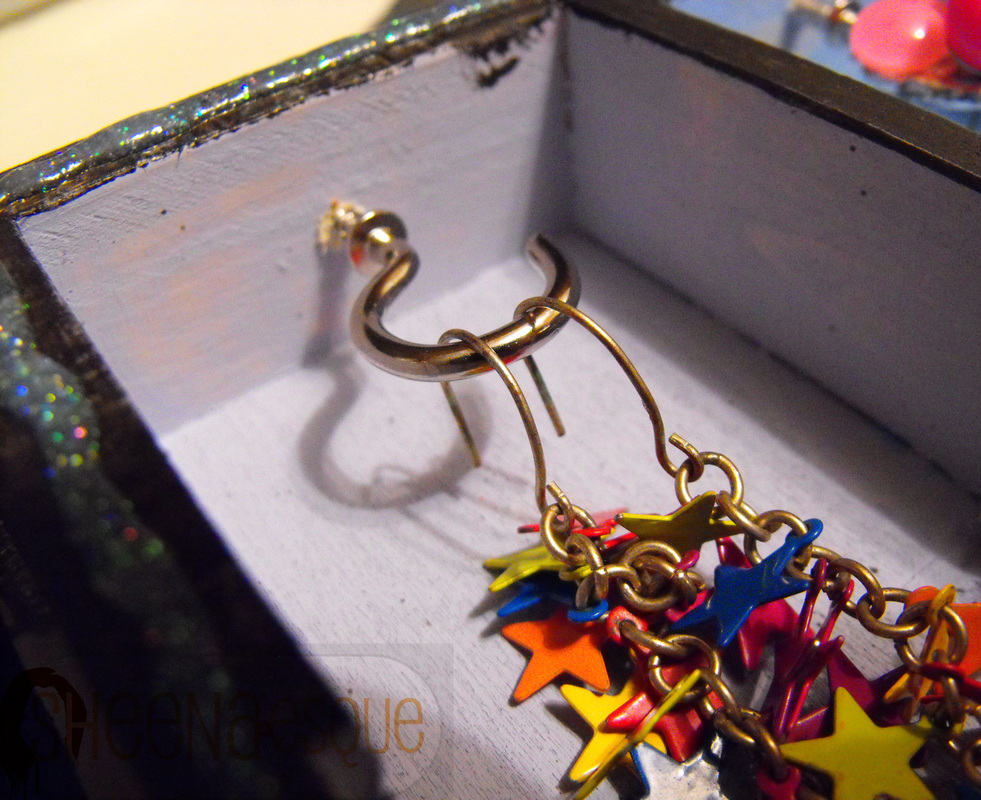
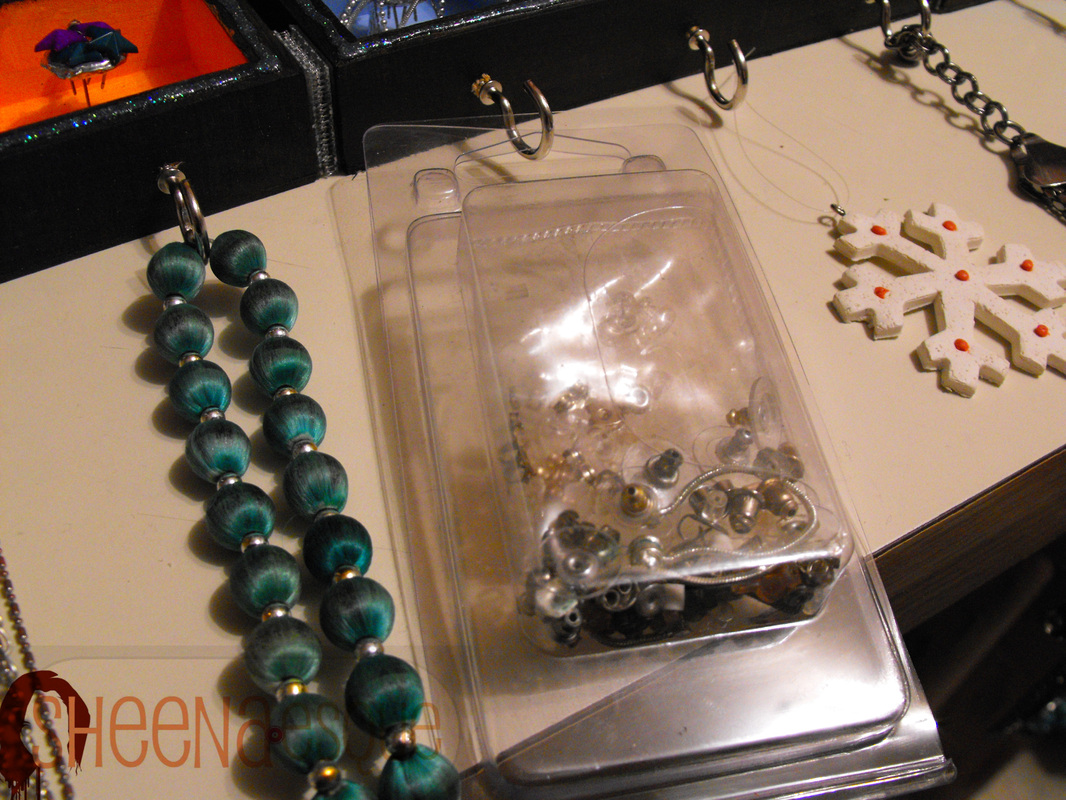
I also decided to use the empty container left over from the pack of hooks I bought and filled it with the backs to my earrings. That way I don't have to fidget with taking them off the earring inside those tiny squares. and it already was hang-able. Also another quick tip, try pre-drilling a little when putting those hooks in, it helps wonders lol. I'm super happy about how it turned out I hope you guys try this yourself too! It's so much easier now that all of my jewelry is out and on display. It makes getting ready in the morning much quicker.
|sheena|


